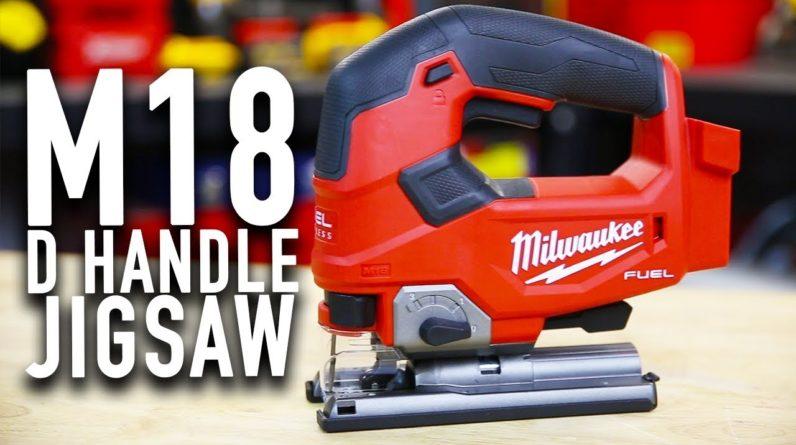
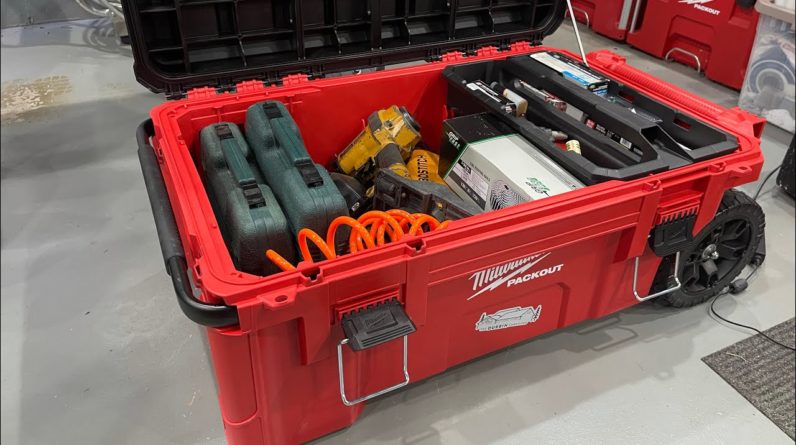
[Music] hey everybody it's ed the old tech guy do you have the milwaukee pack out system then this video may be just for you because we're gonna mod a milwaukee pack out milk crate that's right guys we're going to turn it into a parts bin so the first thing you're going to need is the milwaukee pack out tool storage crate bin for 39.97 you're going to need about four of those pack out five bin kits for 5.98 each and what we're going to do is hot glue those to the bottom of the milk crate so that they don't move now this is optional if this doesn't fit your use case don't do it but i think it works great for me so roughly going to spend about 65 dollars not including the top cover i got my hands on a piece of scrap two by two and a half by half inch thick plexiglas i thought it would be perfect for this use case i've got my makita jigsaw set on position 3 for fast orbital cutting with my makita b22 blade here are the rough measurements that we're going to use to make the top 16 inches across or 16 inches and three quarters if you want to be exact 13 inches from the back to the front or 13 inches with 3 16 and then you have two sections that have four inches with the middle being seven inches and a half towards the front you're gonna dip in about an inch this was not necessarily very easy to cut with the jigsaw so make sure your settings are correct make sure you're using the right blade and you may want to consider a different material i didn't understand how expensive plexiglas was when i was cutting into this i would have been much more careful you'll notice that my cuts are a bit sloppy because i thought oh it's just plexiglass i didn't know how much or how expensive it was when i was in the middle of this project i just wanted to get this done because i really need a parts bin to keep all my different screws and things of that nature organized and keep me fast and fluid at the job site now guys the top could be any material you have on hand it could be wood or metal i just got my hands on this piece of flex glass for free and i couldn't pass up on using it because it's clear and see-through but plexiglas is not a material that i'm used to working with so i learned some tips and tricks on the way that i wanted to share with you guys if i was going to do this again i would use a table saw with a blade that had fine teeth and cross teeth that way would prevent chipping preventing chipping is one of the most important things when working with plexiglass as i learned you can also set that blade or that table saw on slow speed to make sure you keep the material cool as you cut that's also very important to prevent chipping i also learned that leaving the plastic on really maintains the the rigidness of the material as you cut through it so that you do not cause chipping you can also wet sand the edges you saw me using a regular old file on those edges i would not have done that if i would have known that you can wet sand them and make give it a pure glass look that way it would look beautiful inside this case then again you gotta understand that i'm gonna take this on the job site it is gonna get scratched up and even though it's beautiful you know at some point you gotta sacrifice beauty for function i chose function here i am guys just giving it a test fit making sure that it fits really well with what i'm trying to do i'm testing it with the bottom row because if it works in the bottom row it's going to work on the top row all right let's go ahead and start filling those bins in with screws and get it the way i need it for my job let's go ahead and make sure that we have the labels for those screws that way when i'm looking for that specific screw or bolt i'm gonna find it [Music] [Applause] [Music] [Applause] [Music] [Applause] [Applause] [Music] you
