Keeping Cool this Summer with the Perfect DIY AC Installation
Are you tired of the sweltering heat and desperately searching for ways to stay cool this summer? Look no further, as we provide you with a step-by-step guide on installing a DIY air conditioning system with ease. We aim to take the temperature down in your living space while ensuring a professional and polished end-result that will save you some cash.
Installation Steps: Unboxing, Mounting, and Wiring
We’ll kick off the project by breaking down the installation process into manageable tasks – mounting the condenser, running the lines, and fixing up the electrical components.
Mounting the Condenser
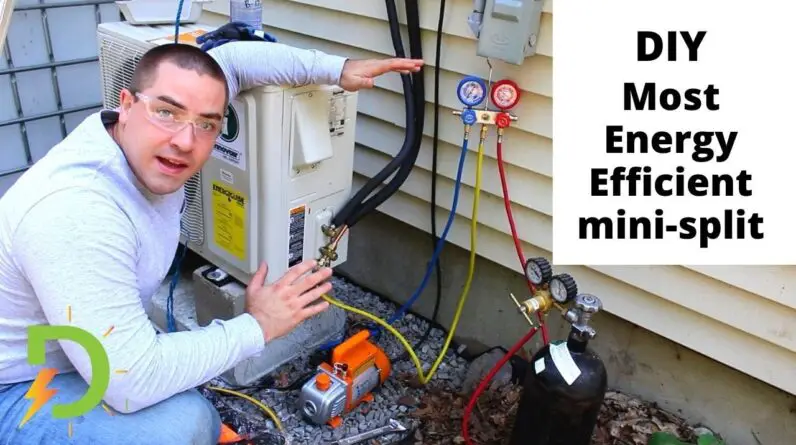
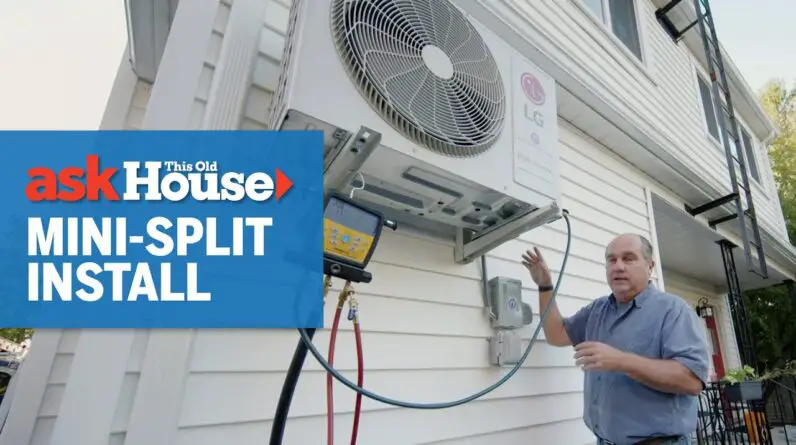
The condenser unit will be securely mounted to brackets with the provided lock washers to prevent unwanted vibrations and potential damage. Attached to the condenser are various plumbing components, which will connect to corresponding pipes that are carefully aligned to prevent excess bending and breakage.
Running the Lines
When working on this stage, you’ll need to pay attention to the correctly labeled pipes. Usually, these are indicated by alphabets: A for the smaller unit, and B for the larger unit. You’ll have to match up the correct lines to their respective ends and ensure they’re straight before connecting them.
For your convenience, try to keep all the copper lines, drainage lines, and electrical wires neatly organized. This will not only allow for proper airflow and less heat retention but also present a polished final look.
Electrical Wiring
Fortunately, the wiring aspect of this DIY project is fairly simple. Each wire is color-coded to correspond to specific electrical connections, making it extremely straightforward.
Warding Off Potential Pitfalls
While the DIY AC installation process may seem quite manageable, it’s essential to be aware of potential hurdles.
Inadequate Hardware and Mounting Solutions
The provided hardware, such as mounting brackets and screws, may be insufficient for securely installing your air conditioning unit. To avoid compromising your AC unit’s stability and safety, it’s advisable to invest in sturdier screws, particularly if mounting on solid wood surfaces without drywall.
Insufficient Pressurization
Avoid settling for cheaper AC kits that claim to come pre-pressurized. Often, these kits are not pressurized to the ideal levels, which will force you to hire an HVAC professional and cost you more money in the long run. Consider purchasing a kit without coolant and plan to hire an HVAC expert from the start.
Expert Tips for a Smooth DIY AC Installation
1. Opt for kits with longer lines: Select an AC unit that offers at least 25 feet of piping, instead of limiting yourself to a 15-foot option.
2. Plan for professional support: Factor in the cost of hiring an HVAC specialist from the start to ensure your system is adequately pressurized and functioning optimally.
3. Organization is key: Keep all the pipes, drainage lines, and electrical wires properly arranged and secured. This will ensure an efficacious operation and polished appearance.
4. Don’t compromise on mounting stability: Invest in sturdy screws to guarantee the secure and safe installation of your AC unit.
5. Keep perplexity and burstiness in check: When working on a DIY project like this, a mix of elaborate and concise sentences can be helpful. Engaging, original writing will ensure the instructions are easy-to-follow.
To sum it all up, if you’re determined to kick the heat this summer, a DIY air conditioning installation can be a cool solution to achieve that while saving money. Just make sure to follow these essential tips and recommendations for a seamless and rewarding experience. Happy cooling!


