Introduction
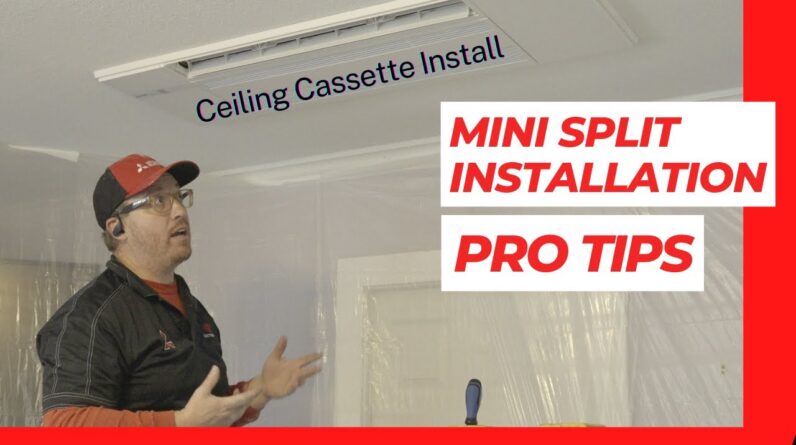
In this article, we will be providing you with a step-by-step guide on the full installation process of a Cooper and Hunter Ceiling Cassette Mini Split System. This inverter heat pump system is perfect for areas where the existing HVAC system is getting overwhelmed by heat load and heat loss from excessive glass. We will be covering the installation of the faceplate, mounting and securing the ceiling cassette, and connecting the outdoor unit to the indoor system.
Step 1: Mounting and Securing the Ceiling Cassette
The first step in the installation process is mounting and securing the ceiling cassette. This will be done by measuring and marking the area where the cassette will be placed, attaching brackets to the ceiling, and mounting the unit into position.
Measuring and Marking the Area
First, measure and mark the area where the cassette will be mounted. The dimensions should be 23 inches by 23 inches.
Attaching Brackets to the Ceiling
Next, attach brackets to the ceiling rafters using screws and nuts. Ensure the brackets are securely tightened to prevent the cassette from moving or shaking.
Mounting the Ceiling Cassette
After the brackets are secured, slide the ceiling cassette onto the brackets and tighten the nuts on the all thread to lock it into place. Make sure the cassette is centered and levelled.
Step 2: Running the Line Set and Communication Wire
Next, run the line set and communication wire from the ceiling cassette to the outdoor unit.

