ductless mini split multi zone

DIY New Construction: Installing Multi-Zone Ductless Mini Split Systems

Experience the Comfort of a DIY Mini Split Installation for Your Not-So-Tiny House

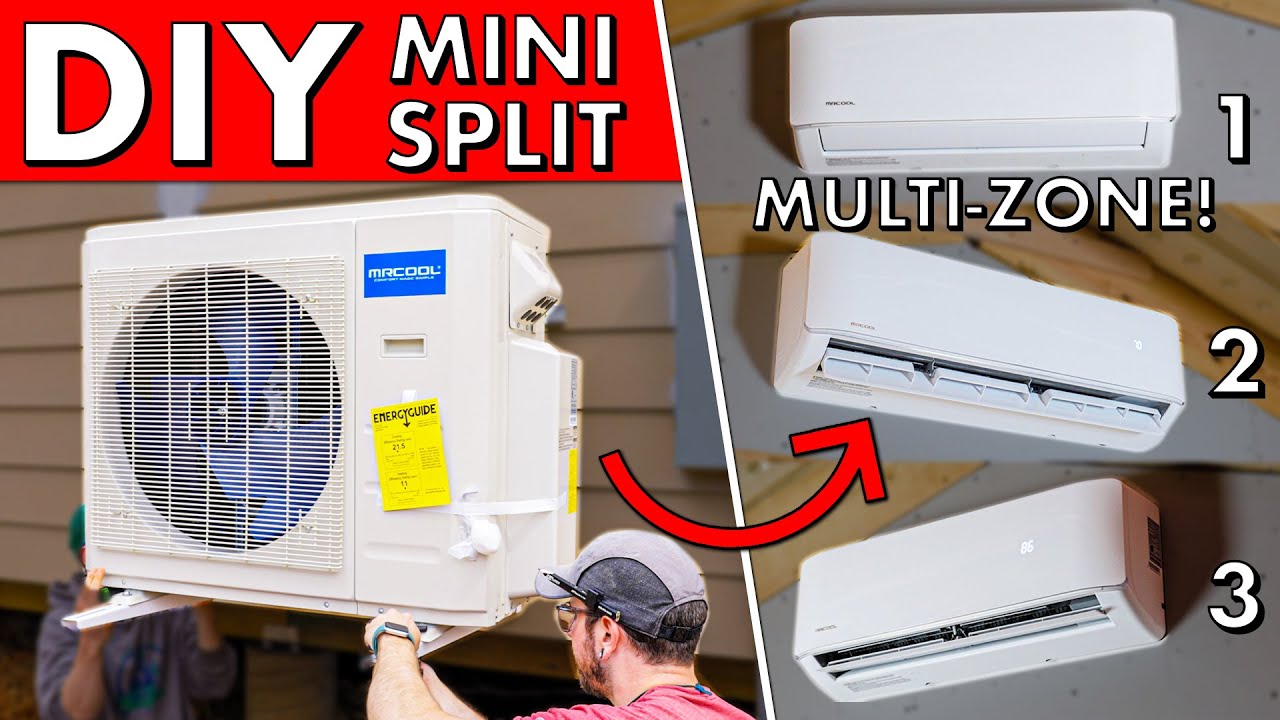
Welcome to part 13 of the not-so-tiny house build series, where I walk you through the process of installing mini split units in a multi-zone system. This week, I will show you how I effortlessly set up three separate indoor mini split units, allowing for independant climate control in different rooms, so you can maximize your comfort while maintaining energy efficiency.

Components of a Mini Split System

To understand mini split installations, let’s first break down their components. The system consists of indoor units called evaporators and an outdoor unit known as the condenser. These are connected by line sets or refrigerant lines, and a communication wire that provides power and helps synchronize the indoor and outdoor units.

The innovative mini split system used in this video is designed by Mr. Cool, who kindly provided all the materials required. Its DIY-friendly design, featuring pre-charged line sets, eliminates the need for additional HVAC expertise or vacuum-pulling equipment.

New Construction vs. Existing Structures

Although mini split installation in existing structures usually involve drilling through an exterior wall, new construction offers the advantage of running line sets through interior walls and under the house. Consequently, I decided to demonstrate installing mini split units in a new construction environment to save time and effort spent on concealing the line sets.

Preparing the Walls and Installing the Indoor Units

Given the permanence of the indoor unit installations, I started by mounting drywall partitions on the interior walls. Using highly effective drywall-specific tools like a collated screw gun and a drywall cutting, or rotozip, tool made this task a breeze. With the walls ready, I began installing the first bedroom’s 9000 BTU indoor unit.

The step-by-step process for installing an indoor unit is as follows:
1. Secure the mounting bracket to the wall.
2. Drill a hole for the line set.
3. Carefully bend the line set so it connects with the outdoor unit.
4. Feed the line set and communication wire through the hole.
5. Mount the indoor unit onto the bracket.

After successfully installing the two bedroom units, I moved onto mounting the more powerful 18000 BTU unit in the main living area.

Setting Up the Outdoor Condenser and Connecting Line Sets

Initially, I mounted the outdoor condenser to the wall. However, after encountering a line set length issue, I opted for ground mounting on leveled concrete blocks instead to make up the necessary difference. Finally, I connected the line sets and communication wires by carefully threading and tightening them with wrenches.

To ensure a secure and leak-proof installation, I conducted thorough leak tests, insulated both the line set and drain line, and wrapped everything with UV-resistant vinyl tape. These steps are crucial for preventing mold growth and maintaining the system’s efficiency.

Essential Safety Measures and Final Testing

As a final step, I filled the penetrations in the top and bottom plates with fire foam, satisfying code requirements. With everything in place, I flipped on the breaker, tested the cooling and heating modes, and confirmed that the system was functioning as expected.

Ultimately, a DIY mini split installation in a not-so-tiny house is simple, cost-effective, and offers unparalleled comfort. This tutorial should instill the confidence needed to tackle this project and transform your living space into an energy-efficient oasis.

Similar Posts

  • The Ultimate Smallest Pump Solution for Your Mini-Split System

    “The Ultimate Smallest Pump Solution for Your Mini-Split System” spotlights a groundbreaking pump that’s redefining efficiency and performance for mini-split HVAC systems. This compact marvel boasts unparalleled precision and a whisper-quiet operation, ensuring a serene and comfortable environment. Its key features include ultra-low vibration, energy-saving technology, and a hassle-free installation process, making it the standout choice for both residential and commercial applications. Distinctively engineered to seamlessly integrate with your system, this pump promises reliable condensate removal, enhancing overall system longevity and efficiency. Discover the transformative benefits of this mini yet mighty pump, designed for optimal functionality and user convenience.

  • Klein Tools 33510S: My Go-To Security Bit Set

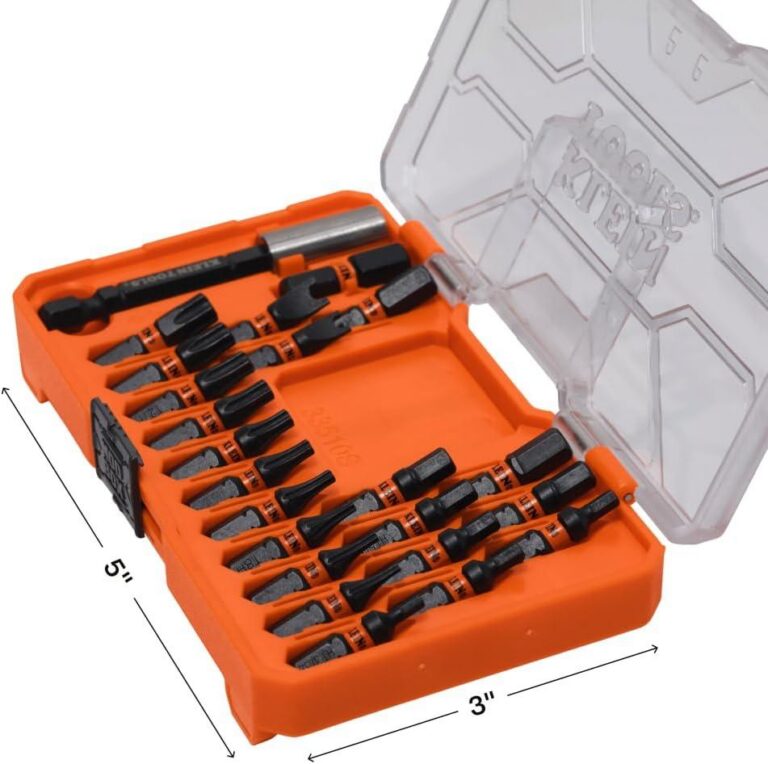
    After two decades in HVAC, I’ve learned that having the right security bits isn’t optional-it’s essential. The Klein Tools 33510S has become my daily driver, and for good reason. This 23-piece set covers every tamperproof fastener I encounter on thermostats, control boards, and modern equipment panels. What sets it apart is the ProFlex impact construction-these bits actually hold up to the torque demands of stuck screws without stripping or snapping. The slim design fits into tight spaces behind furnaces and air handlers where standard bits won’t reach. Plus, being MODbox compatible means it integrates with my existing Klein storage system. I’ve tested plenty of security bit sets that failed within months, but the 33510S has proven itself reliable job after job. It’s not the cheapest option, but it’s worth every penny.

  • Exploring the VIVOHOME 1/4 HP Vacuum Pump: Our Honest Insights

    In our quest for reliable tools, we recently put the VIVOHOME 110V 1/4 HP 3.5 CFM Single Stage Rotary Vane Air Vacuum Pump to the test, and we were pleasantly surprised by its performance. Right out of the box, we appreciated its sturdy design and compact size, making it a great addition to our workshop.

    With its 3.5 CFM pumping speed, the pump efficiently removes air and moisture, which is crucial for HVAC repairs and refrigeration projects. We found the operation to be smooth and relatively quiet, a bonus for maintaining a peaceful work environment. The included oil bottle made it easy to keep everything running smoothly without the hassle. Overall, this pump exceeded our expectations and delivered exceptional results, solidifying its place as a must-have tool for any DIY enthusiast or professional alike.

  • Effortless AC Maintenance: Our Review of the 5-Piece Fin Cleaner Set

    When it comes to AC maintenance, we all know how important it is to keep those fins clean for optimal performance. That’s why we were excited to try the 5 Pcs Air Conditioner Fin Cleaner Set. This versatile kit includes three different AC fin combs and two brushes, making it a comprehensive solution for maintaining our air conditioners and refrigerators.

    Using the fin combs, we found it easy to straighten bent fins, which can significantly enhance airflow and cooling efficiency. The brushes worked wonders on the condenser coils, helping us remove dust and debris that accumulate over time. We appreciated the simplicity of the design, making it user-friendly even for those of us who aren’t DIY experts.

    Overall, this set has made our AC maintenance routine not just manageable, but actually enjoyable. We highly recommend it to anyone looking to give their cooling systems a little TLC!

  • Experience Precision and Comfort: Our Review of HURRICANE Snips

    In our quest for the perfect metal cutting tool, we were excited to put the HURRICANE 10 Inch Aviation Tin Snips to the test. Designed with precision in mind, these heavy-duty shears made light work of sheet metal, offering straight cuts that were both clean and efficient. The chrome vanadium steel blades feel robust and durable, ensuring that they can handle even the toughest materials with ease. One standout feature was the ergonomic grip, which provided us with comfort during extended use—no more sore hands! We appreciated the added safety of the locking mechanism, making storage and handling worry-free. Overall, the HURRICANE snips have become an essential addition to our toolkit, proving that a combination of quality and comfort truly enhances the cutting experience. Whether you’re a professional or a DIY enthusiast, we highly recommend giving these snips a try!