Transforming a Shed into Inviting Guest Quarters
Imagine owning a picturesque shed that has, over time, become a storehouse for odds and ends. Instead of letting this charming structure go to waste, why not turn it into cozy guest quarters?
Setting Up the Essential Mini Split Air Conditioner
To create comfortable accommodations, installing an air conditioner is crucial, especially in a warm climate. For our 168 square-foot space, we’re utilizing the DIY-friendly mini split air conditioner from Mr. Cool. After creating a workspace and mounting the air handler inside, we begin preparing the indoor unit.
Prepping the Wall for the Air Handler
We first measure out the area where the air handler will fit, and use a stud finder to locate and mark the inside wall studs. After removing the air handler’s bracket, we drill holes and mount it accordingly. Next, we create a hole on the wall for the necessary plumbing; this will connect the indoor unit to the outdoor one. Using a jigsaw, we carefully cut out the circles for both the inside and outside walls.
Ensuring a Smooth Passage for the Plumbing Unit
The Mr. Cool mini split AC‘s pre-charged line set simplifies the installation process for DIY enthusiasts. We first feed the line set through the wall while simultaneously pushing the drainage line. After we secure the drainage line to the air handler, we carefully place the unit on its mounting bracket—this process is incredibly straightforward with its simple latch system.
Setting Up the Outdoor Unit and Security System
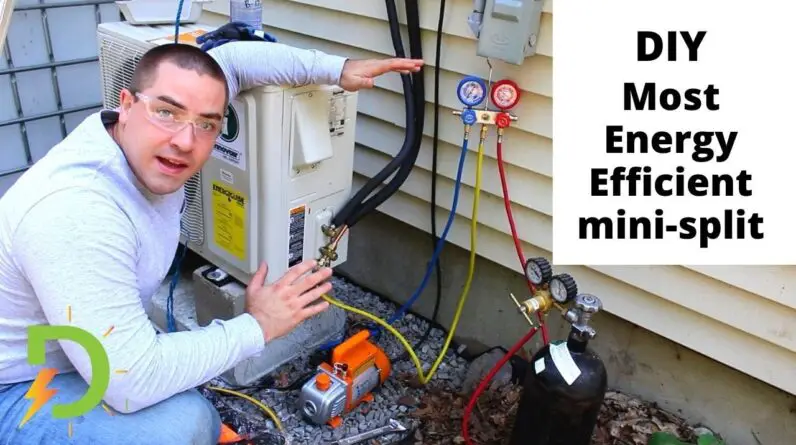
We move on to wiring the outdoor unit on our own. We strip the ends of the outdoor flexible conduit (liquid tight) and crimp our Spade connectors. Then, we connect the output line to the air handler using the provided push-together connector. After pushing all the wires inside and closing the cap, we reposition our unit to optimize airflow.
Powering Up the Unit and Keeping It Safe
To power the mini split, we set up a quiet generator nearby. However, we first wire a fuse disconnect box between the unit and the generator for added protection. Having mounted the box, we wire the ends of the power cord to the outdoor unit and complete the setup using a heavy-duty extension cord.
Tidying Up the Line Set and Finishing Touches
One of the final tasks is organizing the line set to blend inconspicuously with the side of the shed. We use a special Raceway material, purchased from an HVAC shop, to neatly bundle up the excess line set. Next, we connect the line set to the unit and verify that it’s securely in place.
With the exterior trim painted and the hidden generator connected to our now fully-functioning AC unit, we can say our stylish shed is well on its way to becoming beautiful guest quarters.
Wrapping Up: A Job Well Done
Transforming a shed into guest accommodations is an enjoyable project, especially when using easy-to-install, DIY-friendly products like Mr. Cool’s mini split air conditioner. We hope this guide has provided valuable insights for your own shed transformation journey. Remember to consider essentials like proper installation, suitable powering, and a reliable security system when planning your project. Happy renovating!


