Turning the Garage into a Comfortable Workspace
What’s going on everybody and welcome to a new chapter in the garage renovations! As you can see, we’re slowly moving all of our stuff into the new garage, and today we’re going to take a big step towards making it more comfortable.
Installing a Mini-Split Air Conditioning System
The goal for this garage is to create a comfortable space where we can work all year round, regardless of whether it’s hot or cold outside. That’s why we’ve decided to install a mini-split air conditioning system, which will allow us to control the temperature in the garage.
Why Choose a Mini-Split System?
One of the main reasons for choosing a mini-split system is that it’s more energy-efficient than traditional air conditioning units. This means that although it may be more expensive upfront, it will save money in the long run by reducing energy bills. We also chose a mini-split system because it is compact and doesn’t take up much space, making it perfect for our small garage.
The Installation Process
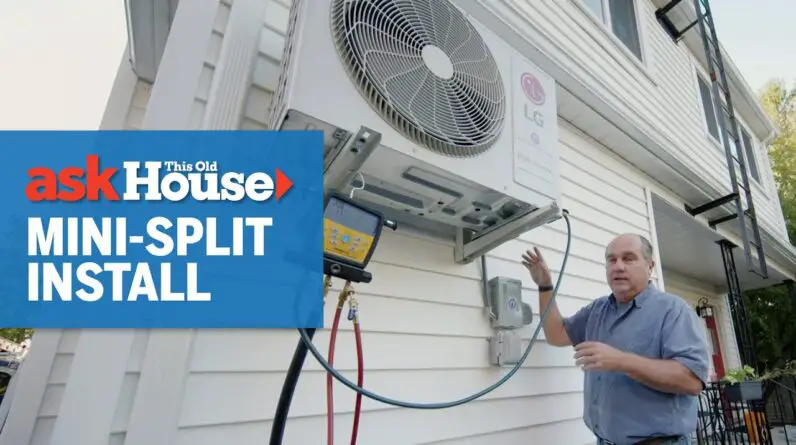
Getting started with the installation, the plan is to have the mini-split system installed on one wall of the garage, with the cables running through the laundry room and out into an outdoor unit.
The first step in the installation process was to attach a metal plate to the wall, which would serve as the base for the indoor unit. The next step was cutting a hole in the drywall and running the cables through it. Then, the indoor unit was mounted on the metal plate.
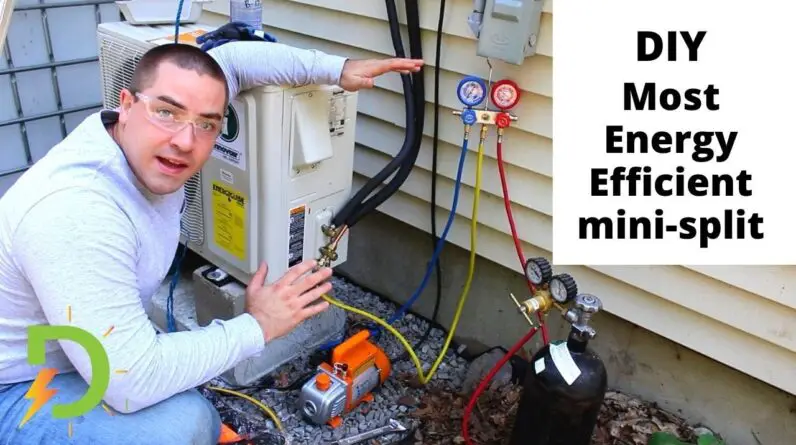
Outside, the other technician was busy setting up the outdoor unit. He started by leveling the ground, and placing a platform for the outdoor unit to sit on. He then drilled a hole through the wall to run the wires from the indoor unit to the outdoor unit.
Connecting Cables and Holes Everywhere
Soon enough, our laundry room was filled with cables running from the mini-split system, through the wall, and out to the outdoor unit. Not only that, but we now had multiple holes drilled in our walls – a necessary evil for this type of installation.
Once all the cables were in place, the technicians connected the high-power wire from the fuse box to the outdoor unit. The reason for this is that an air conditioning system requires more power than a typical electrical device.
The Completed Mini-Split Installation
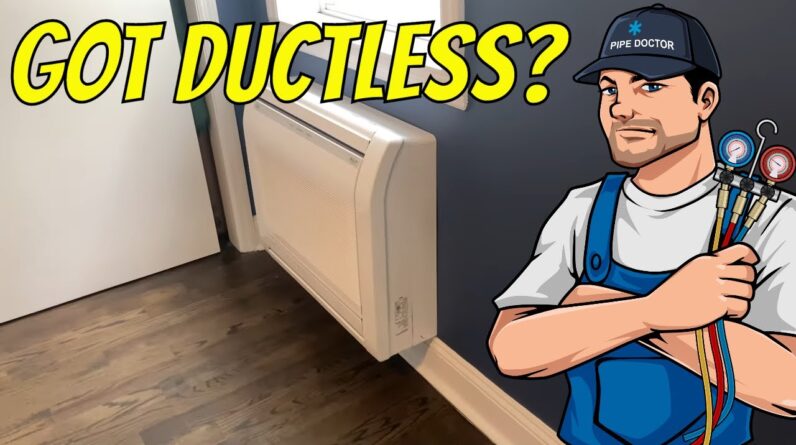
With all the wires connected, holes drilled, and units installed, our mini-split system was complete. The indoor unit is relatively low-profile, so it doesn’t take up too much space in our small garage. We now have total control over the temperature in our garage with the included remote control.
One potential concern is making sure the outdoor unit is compliant with local codes and regulations. Our plan is to build a wooden box to enclose the outdoor unit, both to hide it from view and comply with any potential regulations.
Enjoying Year-Round Comfort in the Garage
Overall, I’m thrilled with our decision to install a mini-split air conditioning system in the garage. It’s going to make a huge difference in our comfort level as we work on various projects throughout the year.
Make sure to subscribe and stay tuned for updates on how the mini-split system performs during the hot summer months. If you’re considering a mini-split system for your garage or workspace, we highly recommend it based on our experience so far.
Thank you for joining us on this garage renovation journey. We look forward to sharing more updates and projects with you in the future. Until then, stay cool and comfortable!


