Introduction
In this article, we will be discussing the installation of a Pioneer mini-split heat pump system. This system both heats and cools your home, providing efficient temperature control. We will go through the complete process, from the initial electrical setup to the final testing of the unit. The Pioneer mini-split system can be purchased online, and we will provide links in the article to help you find all the necessary components.
What’s Included with the Pioneer Mini-Split System
The primary components of the Pioneer mini-split system include the main unit (the outdoor unit), the indoor wall-mounted unit, and the line set (copper tubing that connects the two units). You will need to purchase some additional items for the installation, such as an outdoor mounting pad and the electrical components.
Additional Components for the Installation
In addition to the items included with the Pioneer mini-split system, you will need the following:
– A mounting pad for the outdoor unit (bricks or a cement pad are also acceptable)
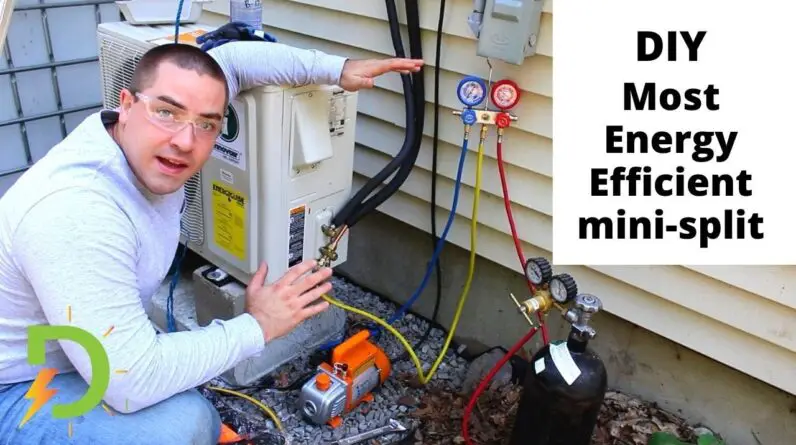
– An air compressor to vacuum the lines during installation
– A manifold gauge set for checking pressure
– Electrical components, such as a breaker box and wiring
Step 1: Install the Electrical Components
The first step in the installation process is setting up the electrical components for the outdoor unit. You will need to install a breaker box and run electrical wiring to the unit. Make sure to follow the instructions included with your specific unit for proper wiring.
Installation Tips
– Use flexible conduit or PVC for wiring from the electrical panel to the outdoor unit
– Be sure to know the voltage of your unit (either 110, 120, or 240)
– Consult an electrician if you are not experienced with electrical work
Step 2: Level the Mounting Pad
Next, you will need to level the mounting pad for the outdoor unit. Make sure it is set on a solid, level surface, such as cement or brick. This will help ensure proper operation of the unit.
Step 3: Install the Indoor Unit
Now it’s time to install the indoor wall-mounted unit. You will need to find a suitable location on a wall that can support the weight of the unit and drill a hole through the wall for the line set and wires.
This next step would be to vacuum the lines to ensure there are no leaks and that the system is sealed properly. Once this step is complete, you can open the valves to allow refrigerant into the system.
Step 4: Test the System
Finally, it’s time to test your newly-installed Pioneer mini-split system. Turn on the unit using the included remote control and make sure it’s cooling and/or heating as expected.
Overall, installing a Pioneer mini-split system requires some electrical and handyman skills, but the process is relatively straightforward. Always consult the instruction manual for specifics related to your unit and follow proper safety precautions when working with electrical components.
If you have any questions about your installation, don’t hesitate to consult a professional HVAC technician to ensure your system is functioning as intended. With proper installation, your Pioneer mini-split system will provide comfortable heating and cooling for your home year-round.

