Installation of LG Ductless Split Air Conditioner: Tools and Equipment
Welcome to LG Electronics single split air conditioning installation procedures. Installing the system right the first time ensures great performance and long life from the very start. Let’s begin with tools and materials needed to successfully install an LG ductless split air conditioner.
Equipment Required:
– Digital multimeter
– Micron gauge
– Vacuum pump
– Digital charging scale
– EPA-approved recovery equipment rated for R410a
– Manifold gauge set approved for R410a use
– Refrigerant leak detector
– Nitrogen tank and regulator
Tools Required:
– number 2 Phillips screwdriver
– 5/16 R410a access port adapter
– 4mm hex wrench
– Flaring tools
– Refrigerant tubing bender
– Bubble type level
– Tape measure
– Open-end torque wrench set for tightening flare nuts
– Core drill and bit capable of boring a two and three-quarter inch hole
Selecting the Best Placement for Your Air Conditioner
Before beginning the installation, it is essential to survey potential installation locations on the job site. Placement of the condensing unit must be within the model-specific limits.
Indoor Evaporator Clearance:
– Minimum 12 inches on either side
– No less than 4 inches from the ceiling
– 7.5 feet from the floor
Outdoor Condensing Unit Clearance:
– No less than 4 inches from the back and left sides
– 24 inches from the right side
– 28 inches from the front of the unit
Unpacking and Inspecting the Equipment
The indoor and outdoor units come in separate cartons. Make sure the model numbers on both the indoor and outdoor unit boxes match. Check the unit for any damage and review the installation instructions before proceeding.
Installation Process
Wall Bracket Mounting
– Position the wallplate where the unit will be mounted.
– Mark off where the bracket will be mounted.
– Drill and install wall anchors.
– Attach the wall bracket to the wall securely.
Refrigerant and Drain Line Installations
– Using the table in the installation manual, mark off where the wall penetration will be made.
– Bend the refrigerant lines carefully.
– Use one of the three knockouts for a surface mount.
Connection of Electrical and Drainage Components
– Attach the 18:4 conductor communication cable to the indoor unit.
– Use needlenose pliers to attach the drainage tube.
– Bundle the refrigerant lines, communication wire, and drainage tube for insertion through the wall.
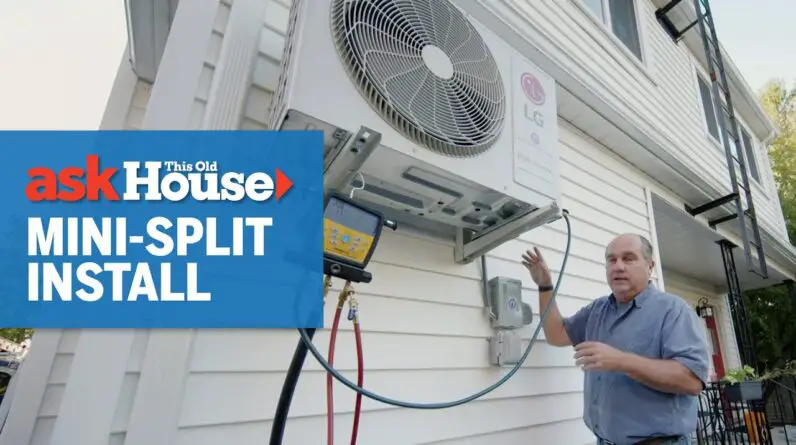
Condensing Unit Placement
– The condensing unit can be pad mounted, bracket mounted, or rooftop mounted.
– Position the pad outdoors.
– Install the rubber grommets on each of the four feet of the outdoor unit.
– Anchor the unit to the pad.
Refrigerant Line and System Leak Check
– Remove and discard the flare nuts from the service valves.
– Cut the tubing and install a trap for proper oil return.
– Debur the ends of the tubing and install the flare nuts.
– Connect the refrigerant tubing and tighten the flare nuts with a torque wrench.
– Connect the refrigerant lines to the unit and perform a leak check.
– Pressurize the system with nitrogen and let it stand while the electrical connections are completed.
Following these installation procedures will ensure a successful installation of your LG ductless split air conditioner, providing great performance and long life for the system. Remember to follow all safety guidelines, and consult the installation manual for detailed instructions related to your specific model. Happy cooling!


