Installing a Rooftop HVAC Unit Curb: A Step-by-Step Guide
When it comes to managing indoor comfort, nothing beats the efficiency of a well-installed rooftop HVAC unit. But before that unit can work its magic, it needs a solid foundation – enter the HVAC curb. This critical component not only elevates the unit to prevent water damage and debris buildup but also ensures a secure and stable installation. Whether you’re a seasoned contractor or a determined DIY enthusiast, understanding how to properly install an HVAC unit curb is essential for a successful deployment. In this article, we’ll walk you through the nuances of selecting the right materials, preparing your rooftop, and executing the installation with precision. Get ready to elevate your HVAC game and lay the groundwork for optimal climate control!
Understanding Rooftop HVAC Unit Curbs and Their Importance
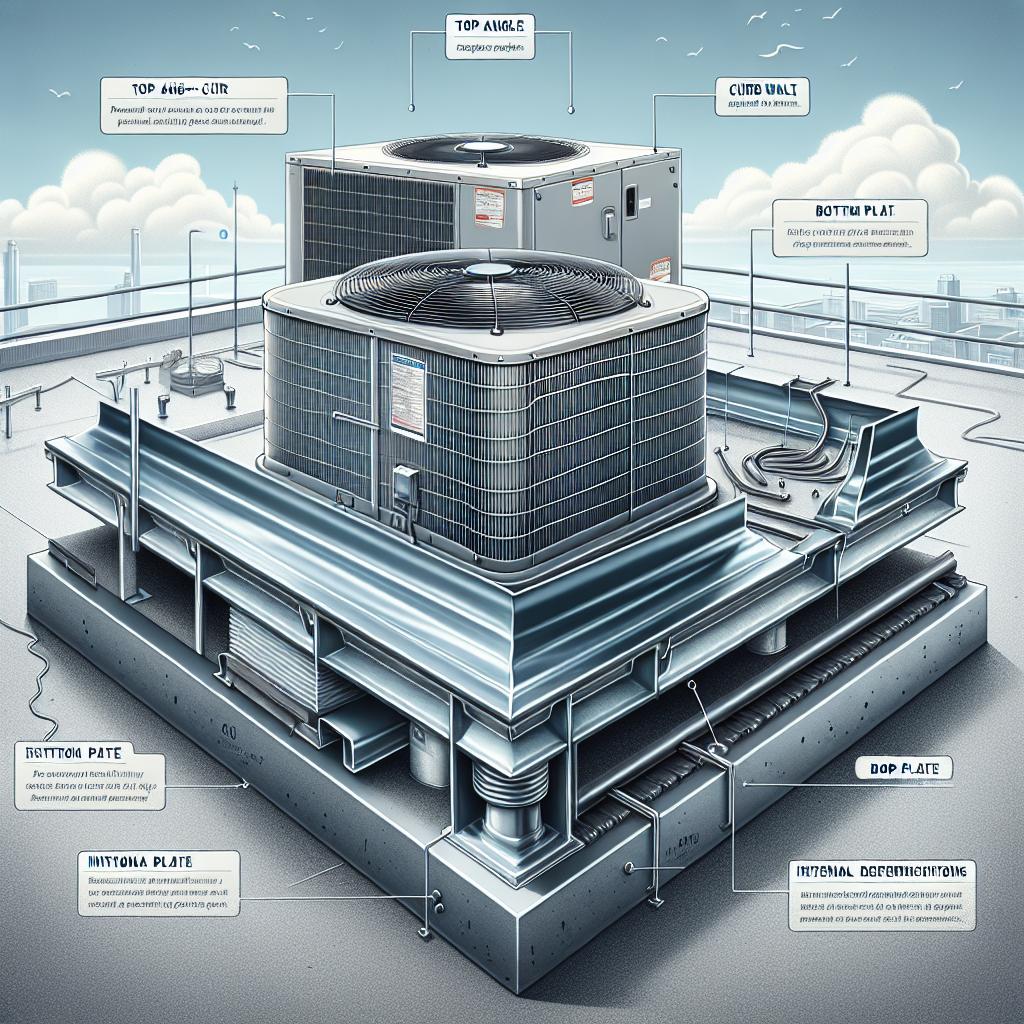
Rooftop HVAC unit curbs are essential for ensuring the proper installation and operation of heating, ventilation, and air conditioning units on commercial and residential buildings. They serve as a raised platform or frame that supports the HVAC system, preventing direct contact with the roof and helping to manage water drainage. A well-designed curb can mitigate the risks associated with thermal expansion, structural movement, and moisture intrusion, thereby enhancing the longevity and efficiency of the HVAC unit. Choosing the right size and material for the curb is crucial; popular options include metal, wood, or composite materials, each offering varying levels of durability and insulation properties.
The installation of a curb is not just a matter of placement; it requires careful consideration of sealing and insulation to avoid leaks and energy loss. Proper flashing techniques are vital to ensure water is directed away from the unit and the underlying structure. When setting up the curb, following these critical steps helps ensure a successful installation:
- Assess the roof’s load capacity and select an appropriately rated curb.
- Ensure the curb is level and properly positioned to accommodate drainage.
- Apply a waterproof sealant around the base to prevent moisture infiltration.
- Securely fasten the unit on the curb and perform airflow checks.

Essential Tools and Materials for a Successful Installation
To achieve a seamless installation of your rooftop HVAC unit curb, assembling the right tools and materials is critical. Safety gear is a non-negotiable part of your toolkit; items such as hard hats, safety goggles, and gloves should always be worn to protect against potential hazards. Additionally, the following essentials will aid your installation:
- Power Drill – for pre-drilling and securing screws
- Wrenches – to ensure all fastenings are snug
- Measuring Tape – for accurate dimensions
- Level – to verify the curb is even
- Sealant – to protect against moisture intrusion
- Screwgun – for efficient fastening
Furthermore, having the right materials on hand can streamline your process significantly. A solid, durable curb structure is vital for supporting the HVAC unit while protecting the roof. In addition, consider the following materials as part of your installation kit:
| Material | Purpose |
|---|---|
| Curb Adapter | To connect the HVAC unit to the roof |
| Insulation | To prevent heat loss and improve efficiency |
| Fasteners | For securing the curb to the roof structure |
| Flashing | To divert water and protect against leaks |

Step-by-Step Guide to Installing Your Rooftop HVAC Unit Curb
Installing a rooftop HVAC unit curb may seem daunting, but following a systematic approach can simplify the process. Start by gathering your materials, which typically include the curb itself, sealing tape, screws, and waterproofing membranes. Make sure your tools are ready: a drill, level, caulk gun, and safety gear are essential. Once you have everything on hand, prepare the rooftop by ensuring it is clean and free of debris. Position the curb in the desired location and use a level to confirm it is perfectly aligned. This step is crucial for the unit’s stability and effective drainage.
Next, it’s time to secure the curb in place. Install it using the following steps:
- Attach sealing tape along the bottom edges of the curb to prevent moisture infiltration.
- Drill screws through the curb into the roof structure at evenly spaced intervals.
- Apply a waterproofing membrane around the base to enhance protection against leaks.
After securing your curb, allow the materials to set according to the manufacturer’s instructions. This attention to detail will ensure durability and functionality for your rooftop HVAC unit.

Common Mistakes to Avoid During the Installation Process
Installing a rooftop HVAC unit curb can be a straightforward task, but several common mistakes can lead to significant problems down the line. One crucial error is failing to properly measure the area where the curb will sit. This oversight can cause misalignment with the HVAC unit, leading to potential leaks or inefficiencies. Always take accurate measurements before proceeding. Additionally, neglecting to check the roof’s slope can result in water pooling on the curb, which can damage both the unit and the roof structure over time. Ensure the roof is adequately sloped for drainage to avoid this unnecessary complication.
Another frequent misstep occurs during the sealing process. Many installers underestimate the importance of using the right sealant or fail to apply it correctly. Always opt for a high-quality, weather-resistant sealant to safeguard against moisture intrusion. Inadequate sealing can compromise the integrity of the installation and lead to costly repairs later. Additionally, some may overlook the necessity of securing the curb properly. Inadequate fastening can lead to vibrations or movement, which can damage both the HVAC system and the roof. Ensure all fasteners are tightened to the manufacturer’s specifications for a secure installation.
Q&A
Q&A: Installing a Rooftop HVAC Unit Curb
Q: What is a rooftop HVAC unit curb, and why is it important?
A: A rooftop HVAC unit curb is an elevated structure that serves as a base for mounting HVAC units on rooftops. It is essential because it provides a stable and waterproof platform, elevates the unit for better drainage, and helps protect it from debris and weather conditions. Proper installation of the curb is vital for ensuring the longevity and efficiency of your HVAC system.
Q: What tools will I need for the installation process?
A: To install a rooftop HVAC unit curb, you’ll need a few essential tools: a tape measure, level, power drill, hammer, utility knife, and an assortment of screws and anchors. Safety gear such as gloves and a hard hat is also recommended. Additionally, having a partner to assist can make the job easier and safer.
Q: What are the steps to install a rooftop HVAC unit curb?
A: Here’s a brief overview of the installation steps:
- Prepare the Roof Surface: Ensure that the area where the curb will be installed is clean, dry, and free from debris.
- Position the Curb: Place the curb in the designated spot, making sure it aligns with the ductwork and electrical connections.
- Level the Curb: Use a level to ensure the curb sits flat. Adjust as necessary by adding shims.
- Secure the Curb: Drill pilot holes into the roof and secure the curb with screws, ensuring it’s firmly anchored.
- Seal the Edges: Apply roofing sealant around the base of the curb to prevent leaks.
- Connect Electrical and Ductwork: hook up the unit’s electrical line and ductwork as needed before installing the unit itself.
Q: How do I ensure proper drainage when installing the curb?
A: To ensure proper drainage, make sure the curb is slightly sloped away from the unit. This will help any water that accumulates to run off rather than collecting around the unit. Additionally, check that the roof itself has adequate drainage and is free of obstructions that might cause pooling.
Q: Are there any common mistakes to avoid during installation?
A: Definitely! Some common mistakes include:
- Neglecting to Level the Curb: An unlevel curb can lead to water pooling and potential damage to the unit.
- Skipping the Sealant: Failing to apply sealant around the curb can lead to leaks and water damage.
- Improper Alignment with Ductwork: Ensuring the curb aligns with existing ductwork and electrical systems is crucial to prevent complications later on.
Q: When should I consider hiring a professional for installation?
A: If you’re uncomfortable with heights, lack experience in construction or HVAC systems, or if the installation involves complex electrical or plumbing work, it’s wise to hire a professional. An expert can ensure that the curb is installed correctly, safely, and in accordance with local building codes.
Q: How do I maintain the curb and HVAC system after installation?
A: Regular maintenance is key to ensuring the longevity of both the curb and the HVAC system. Inspect the curb periodically for signs of wear or damage, check the sealant for leaks, and ensure that the unit is clean and free from debris. Schedule routine HVAC system inspections to maintain its efficiency and function.
With these insights in hand, you’re empowered to tackle the installation of a rooftop HVAC unit curb, whether you choose to do it yourself or opt for professional help. Happy building!
Wrapping Up
installing a rooftop HVAC unit curb may seem like a daunting task, but with the right preparation, tools, and a methodical approach, it can be a rewarding project that enhances the efficiency of your heating and cooling system. By ensuring proper alignment, insulation, and sealing, you not only extend the lifespan of your unit but also optimize its performance, potentially resulting in energy savings over time. As with any installation, patience and attention to detail are key. Now that you’re equipped with the knowledge to tackle this endeavor, you can confidently elevate your HVAC setup to new heights—literally! Whether you’re a seasoned contractor or a determined DIYer, taking the steps outlined in this guide will help you achieve a successful installation, leaving you with a sense of accomplishment and a more comfortable indoor environment. Happy installing!

