Introduction:
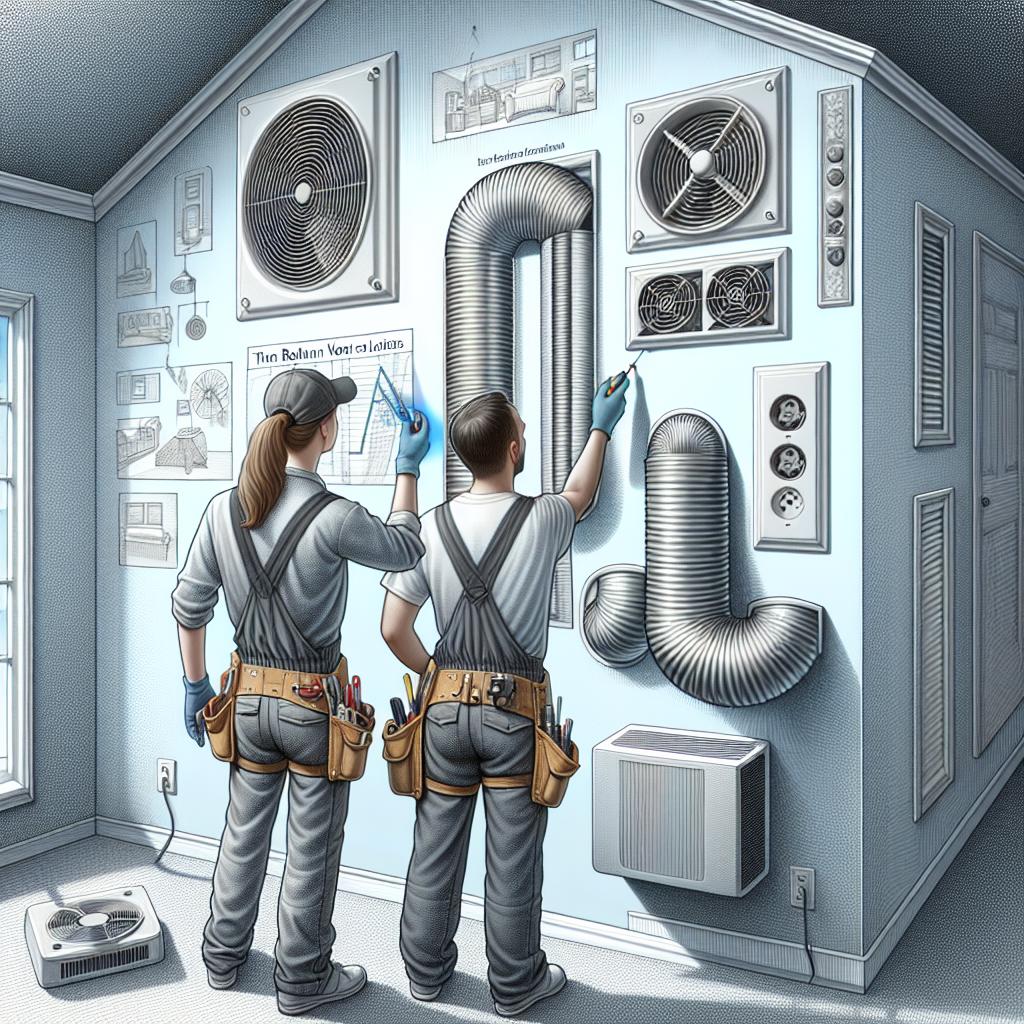
In the quest for home comfort, a well-balanced HVAC system plays a crucial role in providing a consistent and inviting atmosphere. However, when existing setups leave certain areas feeling stuffy or underperforming, the solution may lie in an often-overlooked component: the return air vent. Adding a return to your existing HVAC system can significantly enhance air circulation, improve efficiency, and create an evenly heated or cooled environment throughout your space. In this article, we will explore the steps to seamlessly integrate a return vent into your current system, demystifying the process and empowering you to take control of your indoor climate. Whether you’re a seasoned DIY enthusiast or a curious homeowner, you’ll find practical insights and tips to guide you on this journey toward home comfort.
Understanding the Importance of a Return Air System
A return air system plays a critical role in the overall efficiency and effectiveness of your HVAC setup. Without proper return air pathways, the system struggles to balance airflow, often leading to hot or cold spots throughout your space. A well-designed return air setup helps maintain consistent temperatures, enabling your HVAC system to operate smoothly and effectively. Not only does this enhance comfort, but it also optimizes energy consumption, ultimately saving you money on your utility bills.
Moreover, adding a return air vent can significantly improve indoor air quality. A balanced air circulation ensures that stale air is effectively drawn away and replaced with fresh air. This process helps to minimize the accumulation of allergens, dust, and other airborne pollutants. Consider the following benefits of incorporating a return air system:
- Energy Efficiency: Reduces strain on the HVAC system.
- Comfort Levels: Promotes consistent temperature distribution.
- Air Quality: Enhances the filtration of contaminants.
- Noisy Operation: Reduces overall noise by improving airflow.

Choosing the Right Location for Your Return Vent
When considering the placement of your return vent, it’s crucial to evaluate both functionality and airflow dynamics within your space. The ideal location should promote optimal air circulation, helping to maintain a consistent temperature throughout your home. Here are some factors to keep in mind:
- Avoid Obstructions: Make sure the return vent isn’t blocked by furniture, drapes, or other objects that may impede airflow.
- Central Location: Position the vent near the area where air circulation is most needed, often the living room or central hallway.
- Distance from Supply Vents: A good rule of thumb is to place return vents at least 10-15 feet away from supply vents to ensure balanced airflow.
The material and style of your home can also influence where you place your return vent. In single-story homes, maintaining an open space may be easier, while multi-story residences might require careful consideration of staircases and landings. Here’s a brief overview of effective placements:
| Placement Type | Pros | Cons |
|---|---|---|
| Hallway | Easy access, promotes even air distribution | Can be susceptible to noise |
| Living Room | Targets high-traffic areas, enhances comfort | May require more ductwork |
| Crawl Space or Basement | Improves air quality from below | Potential for moisture issues |

Step-by-Step Guide to Installing a Return Air Vent
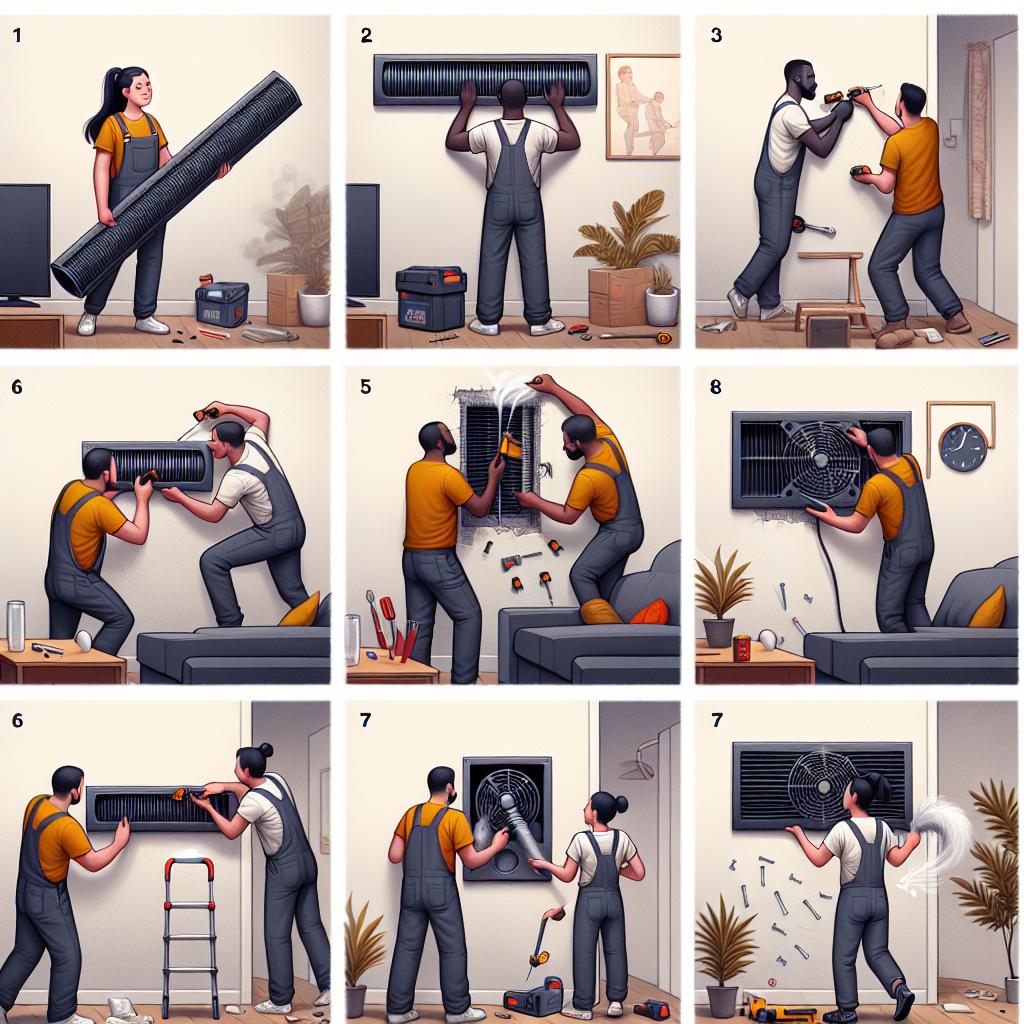
Installing a return air vent is a straightforward process that enhances the efficiency of your HVAC system. Start by gathering your materials, which should include a new return air vent cover, a compatible duct size, sheet metal screws, a screwdriver, and possibly a reciprocating saw if modifications to the existing framing are needed. Begin by choosing the optimal location for the vent, ideally in a central area to maximize airflow. Once the location is identified, use a stud finder to detect any underlying obstacles, such as electrical wires or plumbing. This will ensure you avoid damaging anything during the installation process.
Next, mark the outline of the duct cutout on the wall using the dimensions of the duct you’ll be installing. Use the reciprocating saw to carefully cut along the outline, ensuring a clean finish. After cutting, attach your duct to the wall and secure it with sheet metal screws. Make sure the duct is well-sealed to prevent air leaks. install the vent cover over the newly placed duct and fasten it in place. Once everything is secured, test your HVAC system to ensure optimal airflow and comfort throughout your space. A properly installed return air vent can greatly improve air circulation, efficiency, and ultimately, the overall performance of your heating and cooling system.

Common Challenges and Solutions in HVAC Modifications
When modifying an existing HVAC system to add a return duct, several challenges may arise. Insufficient space can often hinder the installation of additional return vents, especially in older homes where ductwork may be cramped or inaccessible. Additionally, airflow issues may present complications, as the balance between return and supply airflow is crucial for optimal system performance. If the existing system is not designed to handle extra returns, you might face increased noise levels or even reduced efficiency, leading to higher energy bills and discomfort.
Fortunately, a variety of solutions exist to address these hurdles. First, consider creative duct routing, utilizing soffits or closets to position ductwork more effectively. Employing high-velocity systems or ductless mini-splits can also alleviate spatial constraints while optimizing airflow. To ensure that everything runs smoothly, engaging professional HVAC experts for proper assessment and installation can help in diagnosing potential complications and maintaining system integrity. This partnership can offer tailored solutions that enhance both comfort and efficiency.
Q&A
Q&A: How to Add a Return to Existing HVAC
Q: What is a return duct in an HVAC system, and why is it important?
A: A return duct is a crucial component of your HVAC system, serving as the pathway for air to return to the furnace or air conditioner after circulating through your home. It helps maintain balanced air pressure, enhances system efficiency, and ensures consistent temperature throughout your living spaces. Without an adequate return path, your system can struggle to perform, leading to discomfort and higher energy bills.
Q: Can I add a return duct to my existing system, and is it a complicated process?
A: Yes, you can absolutely add a return duct to your existing HVAC system! The complexity of the task can vary based on your home’s layout and current ductwork, but it generally involves assessing your system, determining the best location for the new return, and properly installing the ductwork. While it’s possible to DIY, consulting with a professional can ensure everything is up to code and working efficiently.
Q: What steps should I follow to determine the best location for a new return duct?
A: To find the best location for a new return duct, consider the following steps:
- Identify Areas of Need: Look for rooms with temperature imbalances or where air seems stagnant.
- Determine Accessibility: Choose a location that allows for easy installation and does not require extensive modifications to existing structures.
- Consider Airflow: Position the return duct where it can effectively pull air from multiple areas, ideally near the center of a large room or hallway.
- Avoid Obstructions: Make sure the return is located away from furniture or appliances that could block airflow.
Q: What materials will I need to add a return duct?
A: You will typically need the following materials:
- Duct sections: Flexible or rigid metal ducting, depending on your specific needs.
- Damper: A component to control airflow through the return.
- Grille: An intake grille that is aesthetically pleasing and allows for efficient air intake.
- Sealant and tape: For sealing joints to prevent leaks.
- Fasteners and tools: Such as screws, a screwdriver, and possibly a saw for cutting the duct material.
Q: Should I consider hiring an HVAC professional for this project?
A: While it’s perfectly achievable as a DIY project for those with some mechanical aptitude, hiring an HVAC professional is often a wise choice. They bring in-depth knowledge and experience, ensuring that the new return duct integrates seamlessly with your existing system without compromising efficiency. Additionally, they can conduct a manual J calculation to size the duct properly for your home’s needs.
Q: After adding a return duct, are there any maintenance tips to keep in mind?
A: Absolutely! Here are a few maintenance tips to keep your new return duct functioning effectively:
- Regularly clean/replace filters: A clean filter helps maintain airflow and improves air quality.
- Inspect for obstructions: Routinely check the return grille to ensure it’s not blocked by furniture or debris.
- Monitor air balance: After installation, pay attention to temperature changes in your home to ensure the system operates effectively.
- Schedule regular HVAC maintenance: Annual check-ups by a professional can help catch any issues before they become major problems.
Q: What benefits can I expect after adding a return duct?
A: By adding a return duct, you can expect improved airflow, better temperature regulation, increased comfort in your living spaces, and potentially lower energy costs due to more efficient operation of your HVAC system. Ultimately, a well-balanced airflow can transform your home’s climate, making it a more pleasant environment year-round!
Wrapping Up
In wrapping up our exploration of adding a return to an existing HVAC system, it’s essential to recognize the balance between comfort and efficiency this modification can achieve. By strategically placing return vents, you’re not just improving air circulation; you’re also enhancing the overall performance of your heating and cooling systems.
As you venture into this project, remember that attention to detail and proper planning are your best allies. Take the time to assess your space, calculate air flow, and choose the right materials. Whether you’re a seasoned DIY enthusiast or a cautious beginner, every step taken will contribute to a home that feels fresher, more balanced, and ultimately more enjoyable.
So, roll up your sleeves, gather your tools, and take pride in the transformation ahead. With a bit of effort, you can ensure that every breath of air in your living space is as comfortable and welcoming as possible. Here’s to a more efficient home, one return at a time!

