Mastering Your Indoor Climate: A Guide to Installing an HVAC Damper
In the world of home comfort, few elements are as crucial yet overlooked as the HVAC dampers. These unsung heroes of your heating, ventilation, and air conditioning system play a pivotal role in regulating airflow, ensuring that every room in your home receives the warmth or coolness it deserves. Whether you’re striving for a more balanced temperature throughout your living space or aiming to enhance the efficiency of your HVAC system, understanding how to install a damper could be a game-changer. This article will guide you through the process, providing you with all the necessary tools and tips to tackle this essential DIY project with confidence. So, roll up your sleeves, and let’s dive into the steps to master your indoor climate with a perfectly installed HVAC damper!
Understanding the Role of Dampers in HVAC Efficiency
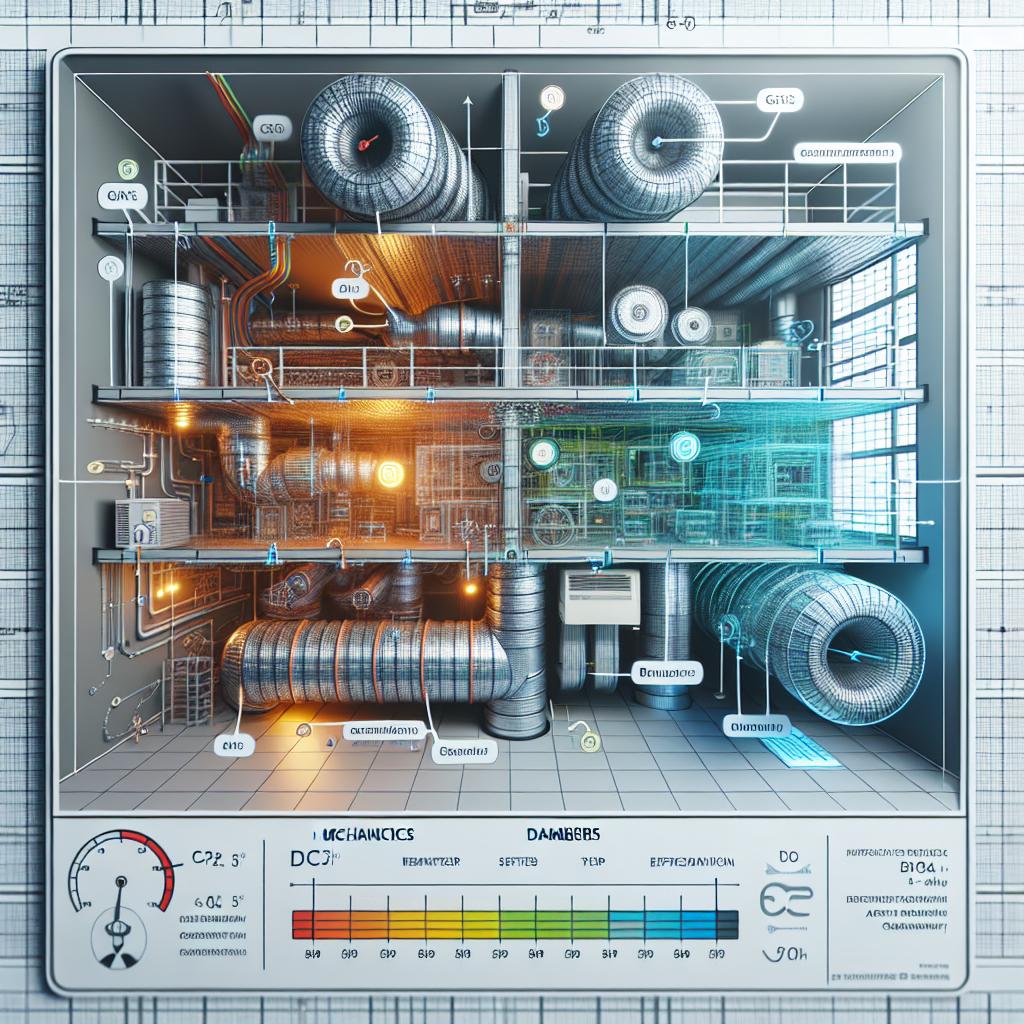
Dampers are vital components in HVAC systems, primarily designed to regulate the airflow within ducting. By controlling air movement, they significantly enhance the energy efficiency of heating and cooling systems. Properly functioning dampers can help maintain desired indoor temperatures and reduce energy waste. When installed correctly, they ensure that conditioned air is evenly distributed throughout the space, preventing hotspots or cold drafts, and contributing to a comfortable living or working environment.
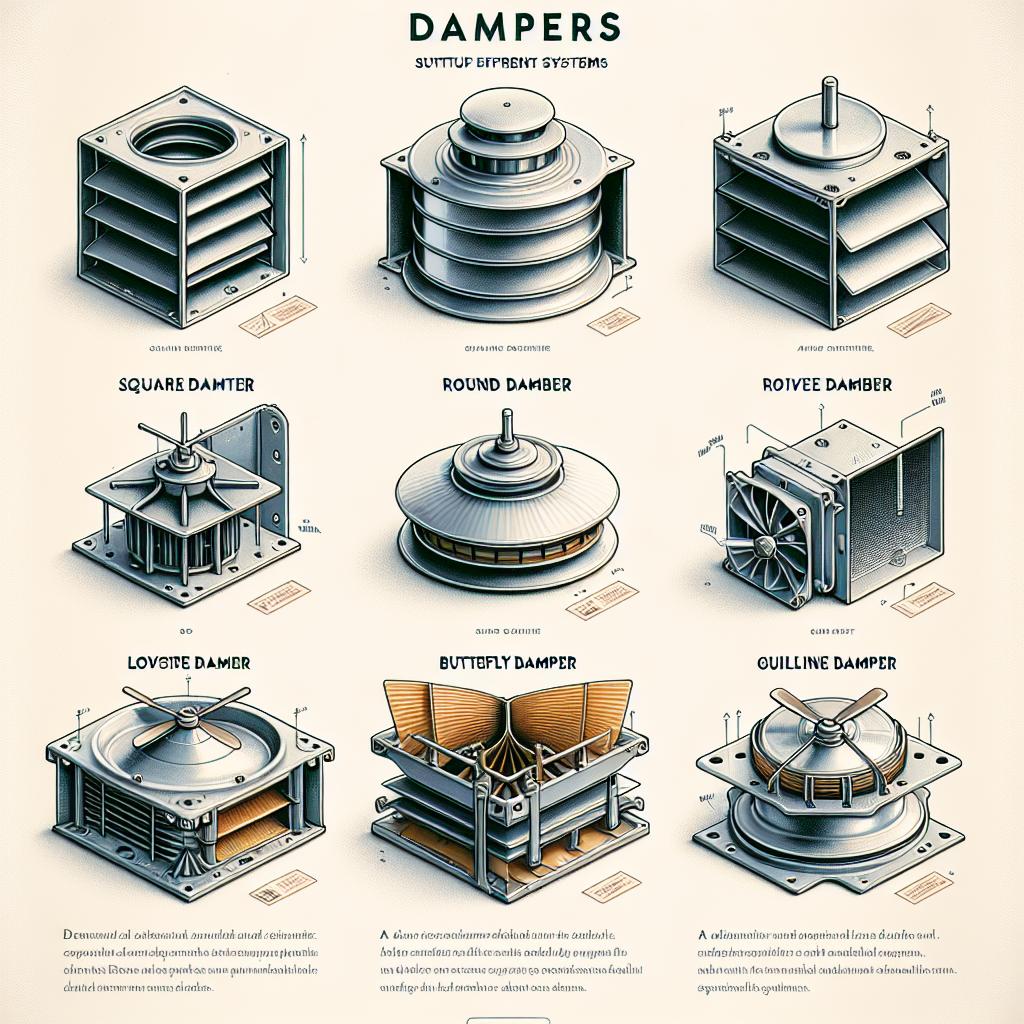
There are several types of dampers available, each serving a unique function in the HVAC system:
- Manual Dampers: Allow for manual adjustment of airflow, giving users direct control.
- Automatic Dampers: Operate based on temperature or pressure changes, providing a more responsive system.
- Fire Dampers: Enhance safety by preventing the spread of fire through ductwork.
- Backdraft Dampers: Prevent air from flowing backward through the duct system when not in use.
| Type of Damper | Primary Function |
|---|---|
| Manual Dampers | Allows user control of air flow |
| Automatic Dampers | Adjusts airflow based on system needs |
| Fire Dampers | Prevents fire spread in duct systems |
| Backdraft Dampers | Ensures unidirectional airflow |

Choosing the Right Type of Damper for Your System
Selecting the appropriate damper for your HVAC system involves understanding the specific requirements of your setup. There are various types of dampers available, and selecting the right one can enhance efficiency and control air flow. Consider these factors:
- System Type: Different HVAC systems, such as ducted or ductless, may require specific dampers.
- Airflow Control: Determining whether you need a manual or automatic damper can significantly affect system performance.
- Material: Choose from options like galvanized steel, aluminum, or plastic based on durability and cost.
- Size: Ensure the damper fits the duct size to avoid air leaks and maintain efficiency.
Another crucial aspect to consider is the damper’s function within your HVAC system. Different operations call for specific dampers:
| Damper Type | Application |
|---|---|
| Balancing Damper | Used to balance airflow across different branches of ducting. |
| Fire Damper | Automatically closes in case of fire to prevent smoke spread. |
| Backdraft Damper | Prevents unwanted air from entering when the system is off. |
| Motorized Damper | Allows for automated control of airflow based on system demands. |

Step-by-Step Guide to Installing Your HVAC Damper
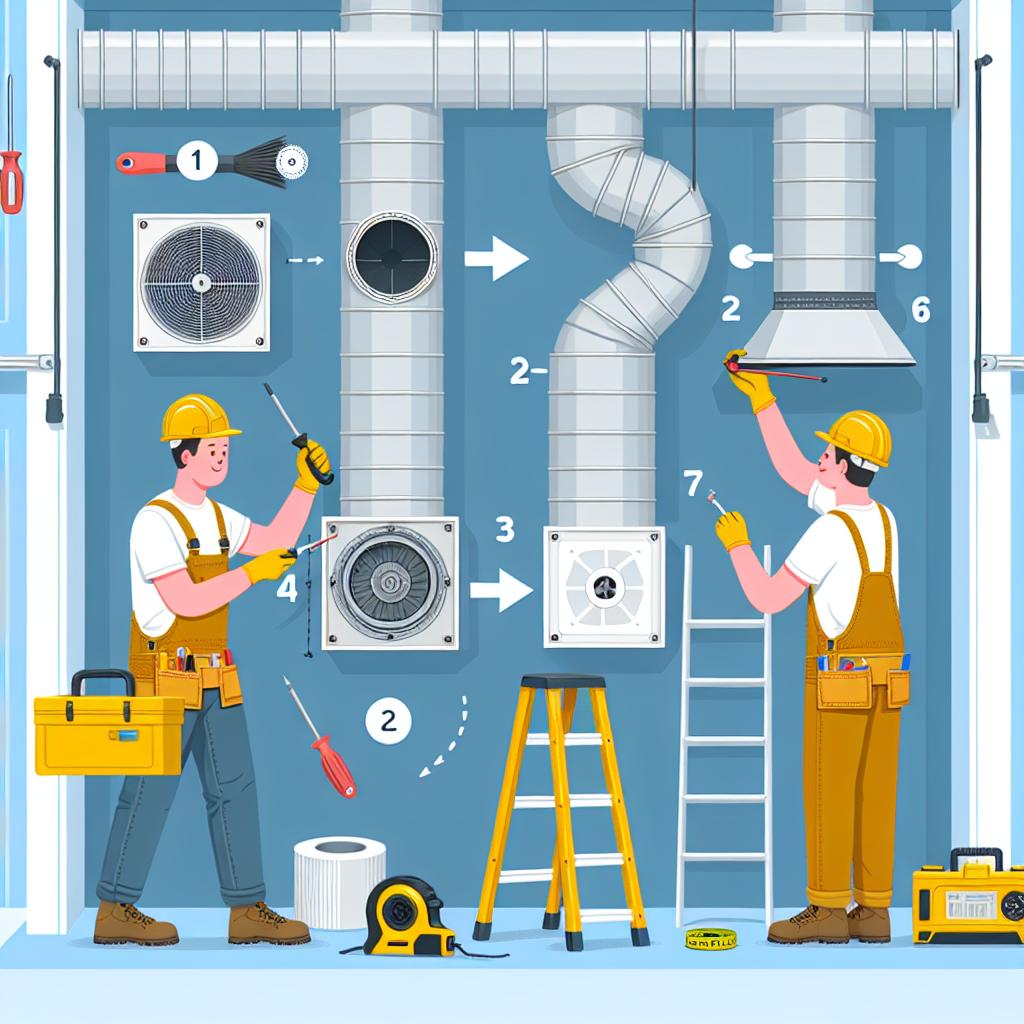
Installing your HVAC damper is a straightforward task that can significantly improve your home’s energy efficiency. Begin by gathering your essential tools such as a screwdriver, utility knife, and duct tape. Ensure safety precautions are taken by turning off the HVAC system before you start. Following the manufacturer’s instructions, locate the ideal position for your damper within the ductwork; typically, it is best placed near the air handler or within the main trunk line. Once you have chosen the location, measure and mark the area where you will cut the duct for the damper’s installation.
Next, proceed to cut the duct using your utility knife, making sure the edges are smooth to prevent any air leaks. Position the damper correctly and ensure it fits snugly before securing it with screws. Follow this by sealing the joints with duct tape to provide additional protection against air leakage. test the damper’s functionality by turning the system back on and checking if it opens and closes properly with the airflow. If adjustments are necessary, revisit the installation area to ensure a perfect fit.

Troubleshooting Common Issues After Installation
Once you’ve installed your HVAC damper, it’s not uncommon to encounter a few hiccups along the way. Airflow issues can manifest as uneven heating or cooling in different rooms, often due to improperly balanced dampers or restrictive ductwork. To diagnose the problem, check to ensure that all dampers are fully operational and not obstructed by debris. Consider the following troubleshooting steps:
- Examine the damper positions to ensure they are open as intended.
- Inspect duct connections for any leaks or blockages.
- Ensure your thermostat settings align with the desired temperature.
Additionally, unusual noises can indicate alignment or installation problems. If you hear rattling or whistling sounds, the damper may not be sealing properly or could be making contact with nearby ductwork. Implement these strategies to resolve the noise issue:
- Verify that the damper blades are in perfect alignment.
- Check for loose screws or fittings that require tightening.
- If persistent sounds occur, consider adding insulation around the ducts to minimize vibration.
Q&A
Q&A: How to Install a Damper for Your HVAC System
Q: What exactly is a damper in an HVAC system?
A: A damper is a device that regulates airflow within the HVAC system. It can be adjustable or fixed and works to control the distribution of air to various areas in your home, enhancing comfort and energy efficiency.
Q: Why should I install a damper in my HVAC system?
A: Installing a damper allows you to fine-tune airflow, ensuring that specific rooms receive the right amount of heating or cooling. It can help reduce energy costs, eliminate hot or cold spots, and improve overall system efficiency.
Q: What tools will I need for the installation?
A: To install a damper, you’ll typically need a screwdriver, a utility knife, duct tape or sealant, and possibly a measuring tape. Depending on your system, you might also require sheet metal screws, a drill, and safety goggles for protection.
Q: Can I install a damper myself, or should I hire a professional?
A: While installing a damper can be a DIY project for those with moderate handyman skills, it’s essential to ensure that your HVAC system is compatible and that you follow safety guidelines. If you’re unsure or uncomfortable, hiring a professional is always a wise choice.
Q: What is the step-by-step process for installing a damper?
A: Here’s a simplified outline of the installation process:
- Turn Off the HVAC System: Safety first! Ensure the system is off before starting.
- Locate the Ductwork: Identify where you want to place the damper within the duct system.
- Measure and Cut: Measure the dimensions of the duct and cut an opening to fit the damper snugly.
- Install the Damper: Insert the damper, aligning it correctly, and secure it in place with screws or duct tape.
- Seal the Edges: Use duct sealant to prevent any air leaks around the edges.
- Test the System: Turn the HVAC system back on and check for proper airflow and adjustments.
Q: How do I know I installed the damper correctly?
A: After installation, observe the airflow in the corresponding room. You should feel a noticeable difference. Also, check the damper’s functionality by manually adjusting it; it should open and close smoothly without resistance.
Q: Are there any maintenance tips for my newly installed damper?
A: Yes! Regularly inspect the damper for any debris or dust buildup. You can clean it with a soft, damp cloth. Additionally, check its mechanical parts to ensure smooth operation, particularly at the start of each heating or cooling season.
Q: What common issues might I encounter during the installation?
A: Some common issues include improper sizing of the damper, difficulties with accessing the ductwork, and challenges in sealing the edges effectively. Measure twice and take your time to avoid these pitfalls.
Q: How can a damper affect my energy bills?
A: A well-placed and functioning damper can significantly reduce your energy bills by ensuring that air isn’t wasted in unoccupied rooms, allowing your HVAC system to work more efficiently and effectively.
Q: What’s the final word on damper installation?
A: Installing a damper in your HVAC system can be a valuable investment in your home’s comfort and efficiency. With the right tools and a little know-how, it’s a task many can tackle themselves, bringing balance to your indoor climate. Happy installing!
Final Thoughts
As you wrap up your journey into the world of HVAC dampers, you might find yourself armed with a powerful tool for optimizing your home’s comfort and efficiency. By following the steps outlined in this guide, you’ve not only learned how to install a damper but also gained a deeper understanding of how airflow affects your space.
Remember, a well-regulated system not only enhances the indoor climate but also contributes to energy savings, reducing waste and nurturing our planet. After all, the small changes in our homes can lead to significant impacts on our environment.
Now that you’ve turned your HVAC system into a smoothly operating unit, don’t hesitate to share your newly acquired expertise with friends and family. Whether you need a little help with troubleshooting or just want to revel in your DIY success, your journey doesn’t end here. Continue to explore, learn, and adapt as technology and techniques evolve within the fascinating world of home heating and cooling.
Happy installing, and may your home stay cozy and efficient for years to come!


One thought on “how to install a damper hvac”